
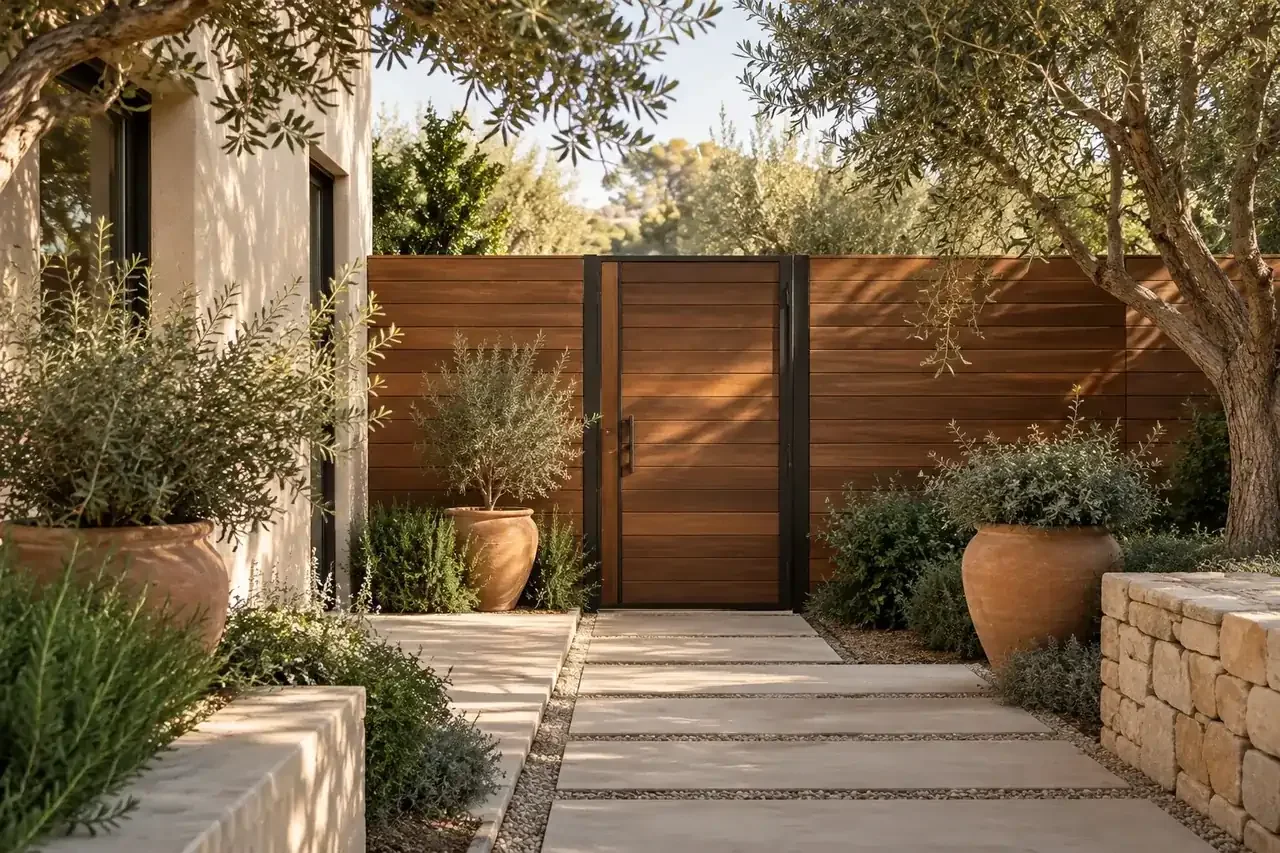
A horizontal wood garden fence with a matching framed gate beside a paved path.
Architectural visualization. It does not set privacy, spacing, support, hardware or local approval requirements.A sloping site needs a separate decision about the fence's top line and the changing space below it. Draw a side elevation with actual ground observations. A plan view alone hides the conditions that make a stepped or ground-following arrangement succeed visually.
Record the change in level
Measure or obtain reliable elevations at endpoints, corners, openings and visible changes in grade. Label preliminary readings as such. Draw the ground profile beneath the proposed fence rather than assuming a straight diagonal between two ends. A garden path may rise unevenly, while a nearby bed creates a local hollow. Photograph these points with matching labels so everyone can connect the elevation drawing to the actual terrain.
Compare top and bottom lines
A stepped arrangement creates level panel tops with deliberate jumps. A ground-following appearance emphasizes continuity with the slope, though its detailed construction depends on the chosen system. Compare both at the most visible viewpoint. Also examine the openings below the infill, especially where pets, loose objects or planting interact with the boundary. State the desired outcome for those gaps and have the installer resolve a suitable detail for the site.
Separate the gate condition
Place the gate on its own enlarged drawing, showing the ground over its full operating area. Its practical movement may call for a different visual transition than the adjacent panels. Do not fix a difficult swing merely by copying the bottom line of the fence. Once a layout is selected, group panels by cut pattern and note every change in level on the material schedule. Confirm field dimensions before cutting unique pieces, particularly at the lowest and highest ends.
Measure the ground along the fence line
A single statement such as “the yard slopes” does not describe a buildable boundary. Record the ground level at ends, corners, proposed posts and changes in grade. Include nearby paving and any retaining structures. A smooth rise and a short abrupt change may have the same total elevation difference but require very different layouts.
Do not measure height only from the most convenient end. The visible fence height and the space below the boards change along a slope. The local method for measuring permitted height also needs confirmation. A level top line drawn without ground information can conceal a large bottom opening or an excessive height at the low end.
Separate stepping, following grade and shaped infill
A stepped fence uses level sections at different elevations. A fence that follows grade carries an inclined line along the ground, where the assembly permits that arrangement. Another option keeps a chosen top line and varies board lengths or lower cuts. Each creates a different relationship between the board pattern, posts and ground clearance.
| Approach | Visual consequence | Detail to resolve |
|---|---|---|
| Stepped sections | Deliberate breaks in the top and course lines | Size and position of each step; bottom openings |
| Grade-following layout | A continuous inclined boundary | Whether the selected board, rail and connection system accommodates it |
| Shaped lower edge | Top line can remain visually consistent | Individual cuts, clearances and support of shortened boards |
These are layout descriptions, not interchangeable structural solutions. In particular, a product intended for level rectangular panels may not be suitable for racking into a parallelogram. Obtain the relevant assembly detail before choosing the appearance.
Place transitions where they can be built cleanly
Try several step positions before fixing post locations. A step beside a gate may complicate the swing and latch relationship. A step at an outside corner changes how the return meets it. A large triangular opening at the ground may undermine the intended privacy or containment even when the upper fence looks orderly.
Use the actual board face and gap to sketch the lowest course or shortest boards. Preserve required separation from soil and planting; do not solve a visual opening by burying the hardwood. The moisture behavior described in the USDA Wood Handbook is one reason to distinguish the fence from the ground conditions around it.
The finished layout should show elevations at the posts, the treatment of each transition and the assumptions about future grading. Keep retaining-wall design and drainage work outside the fence-board schedule. If the ground will be changed later, settle those levels before cutting the infill.
Evidence & scope
Original planning guidance. References support their stated technical scope; examples and workflows do not establish product approval.