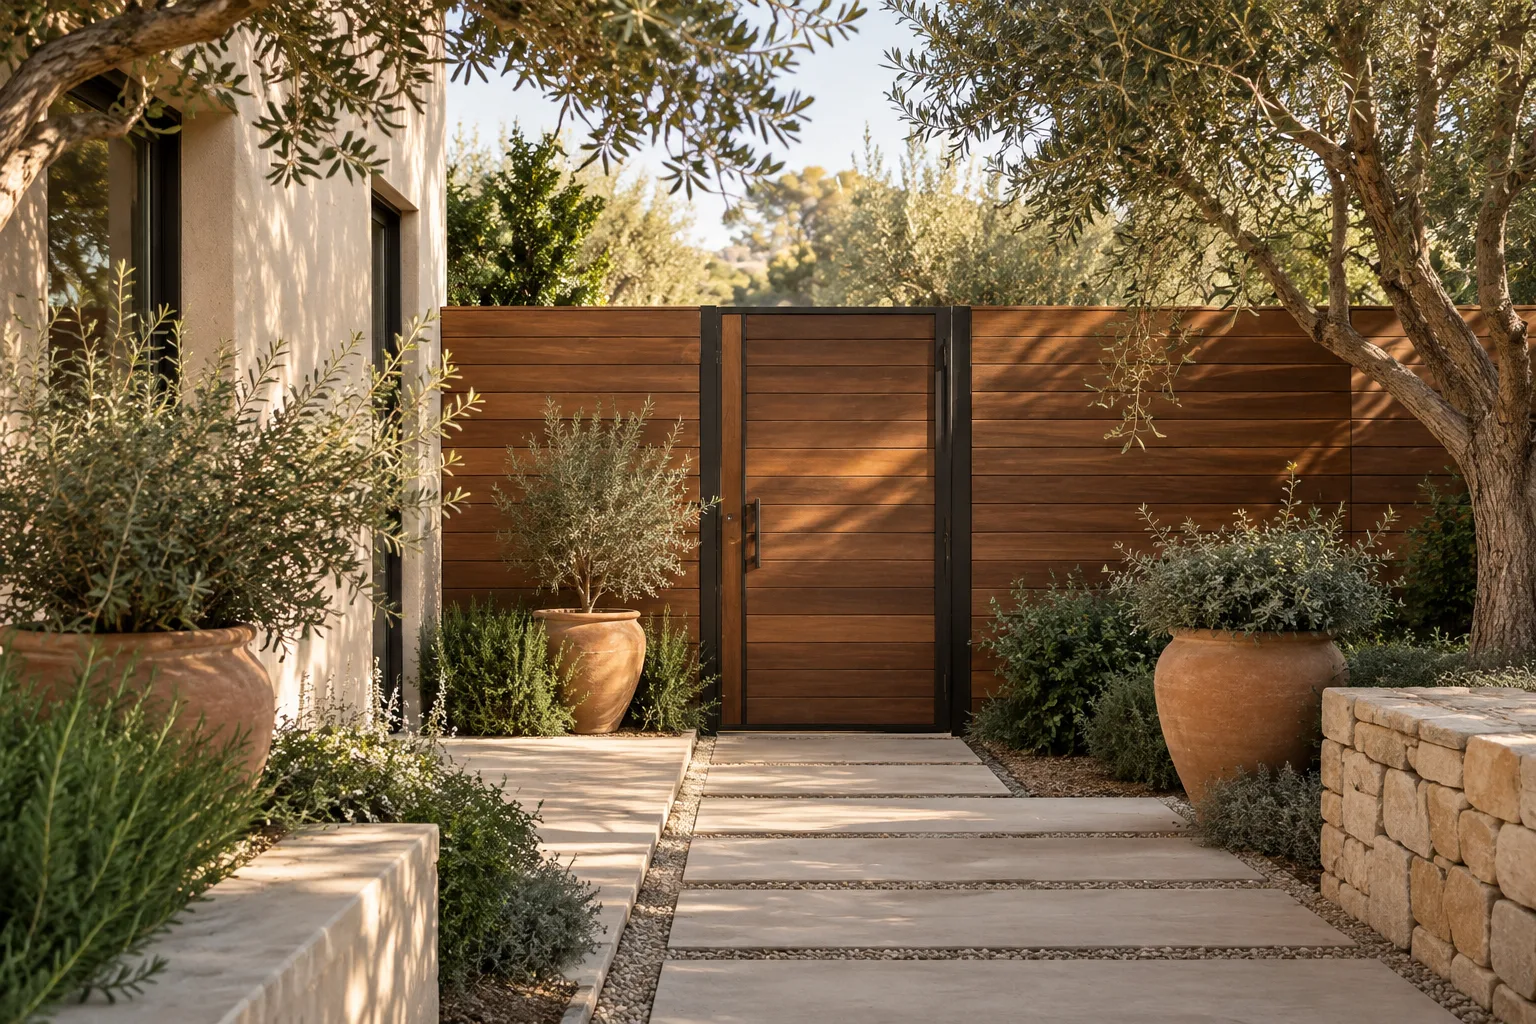
A narrow gap is still an opening, and its effect changes with viewpoint. Define privacy by the activity and viewing direction you want to screen. Then compare layouts with a simple physical mockup rather than relying on a photograph taken straight on.
Map the sensitive views
List the places where privacy matters: a dining chair, a kitchen window, a garden work area or the approach to a door. Draw lines toward the nearby path, driveway or neighboring windows. Changes in ground level can make the view over a fence more important than the view through it. Mark those conditions separately. A taller-looking photograph cannot establish whether a proposed arrangement screens your actual seating position.
Compare gaps at useful angles
Place several sample boards at the proposed separation and view them straight on and obliquely. Repeat with light behind the mockup. An offset or overlapping arrangement can change the view through the assembly, but it also changes its thickness, material quantity and access for cleaning. Record the configuration precisely rather than calling it simply a privacy fence. Confirm that the installer can reproduce the corner and gate transitions as drawn.
Document an achievable expectation
Describe the intended outcome in plain language, such as reducing direct views from the side path into the seating area. Avoid promising complete concealment under every condition. Wood changes dimension with moisture, so an installation gap is not a permanent optical measurement. Keep the sample decision, actual board width and installer-selected movement allowance together. If a later product change alters the face width, repeat the view test before approving the new layout.
Evidence & scope
General wood moisture behavior only; no species-specific movement allowance.
Original planning guidance. References support their stated technical scope; examples and workflows do not establish product approval.