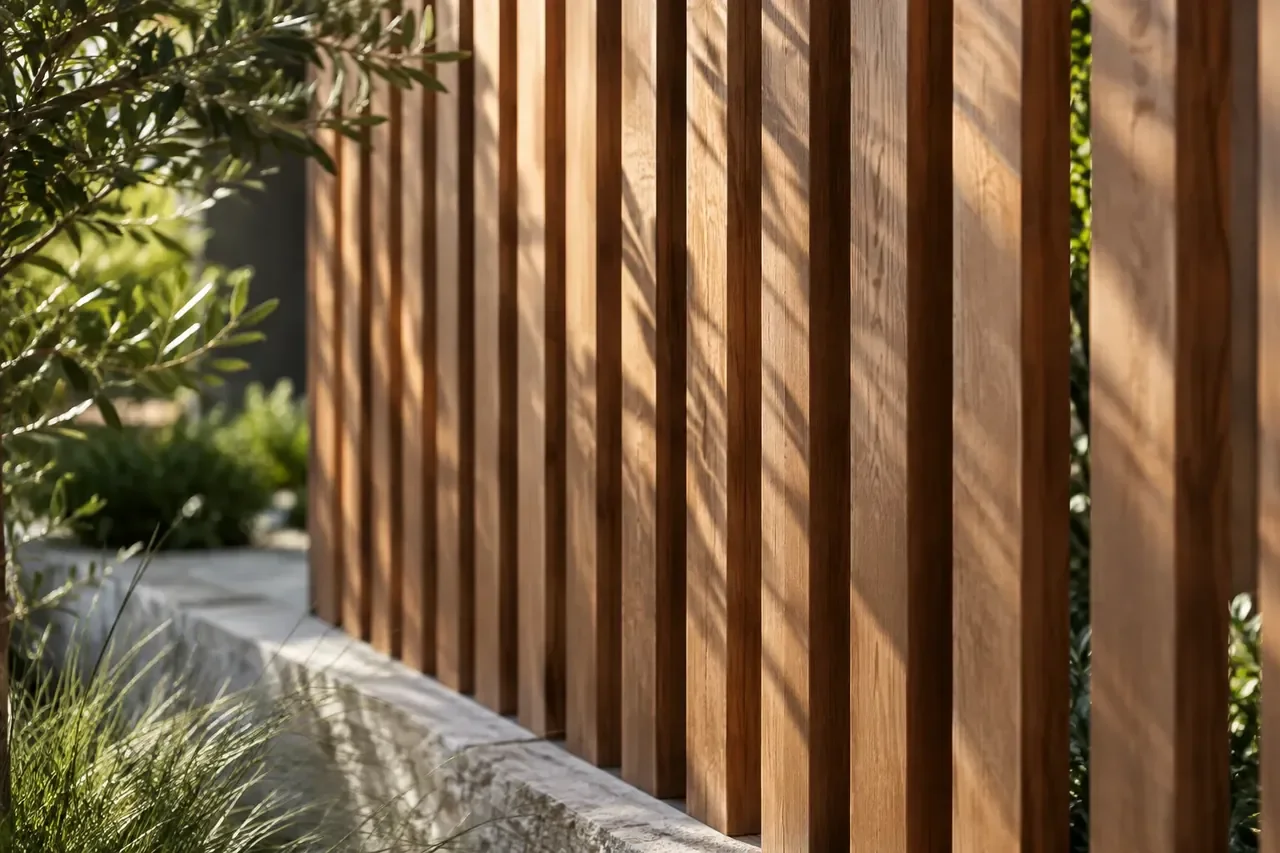
Vertical wood fence boards beside a planted garden edge.
Architectural visualization. It does not set privacy, spacing, support, hardware or local approval requirements.Install hardwood fencing from a coordinated assembly detail and the supplied product instructions. Use the workflow below to confirm decisions and workmanship; it does not prescribe universal post spacing, footings or movement gaps.
Before delivery: resolve who designs what
Assign responsibility for the site layout, foundations, posts, rails, board supports, connections and gate assemblies. A material supplier may be quoting only the wood. An installer may assume another party has selected the post and footing system. Put those scope boundaries in writing. The most expensive gap is often an unresolved support or gate detail discovered after the boards have arrived.
Confirm the boundary, approvals and utility locating process before excavation. Establish finished ground and paving levels rather than building to soil that will later be raised. Check equipment access and the route from the unloading point to the work area. Dense boards and long lengths need a handling plan that avoids dragging corners, damaging masonry or blocking a shared passage. Schedule dry storage and installation access together; a delivery date alone does not make the site ready.
Receive, inspect and store the boards
Compare the delivery with the agreed schedule: species, quantities, lengths, actual dimensions, profile and visible condition. Record discrepancies promptly under the order’s terms. Photograph packaging and damaged areas while they can still be identified. Keep labels and batch information. A board that appears different in color is not automatically a wrong species, and a damaged package should not be accepted without a record of the actual condition.
Store material supported, separated from soil and protected from precipitation with ventilation maintained. Follow the supplier’s stacking and covering instructions. Avoid a tightly wrapped, sun-heated pile that traps moisture, and avoid allowing only one face to become wet. Protect the surface from masonry dust, metal debris and other contamination. Sort and inspect representative boards before cutting so an appearance problem does not become a fixed part of the fence.
Where moisture readings inform installation, use a suitable meter and the appropriate species correction and method. Record sample locations and conditions instead of relying on a single convenient board. The objective is an appropriate installation condition for the service exposure, not a fixed calendar wait. If boards remain substantially different in condition, pause and obtain product-specific guidance before deciding the gap or restraining the assembly.
Approve the first bay before repeating it
Set out the actual face dimensions, planned clearances and termination details on a trial bay. Check the first and last courses, post alignment and any cap. For horizontal fences, show where the course will meet a gate and turn a corner. For vertical layouts, inspect narrow end pieces and the relationship between visible fixings and rails. Make the agreed adjustment in one place before it becomes inconsistent across many bays.
View the bay from both sides and from the intended privacy positions. Test the finish and fastener appearance on the same wood that will be installed. Confirm which face is exposed and whether color sorting is required. Keep the sample approval with the drawing so the installer and owner share a concrete reference. A single mockup can expose a mismatch between an elegant elevation and a practical connector or channel detail.
Machine and fasten with a product-specific method
| Operation | Workmanship check |
|---|---|
| Crosscutting | Use appropriate sharp tooling, support the board and keep ends square where the detail requires it. |
| Ripping / custom milling | Confirm final dimensions, edge treatment, yield and whether the connection still works. |
| Pilot drilling | Use the fastener manufacturer’s diameter and depth guidance for the actual wood and substrate. |
| Countersinking | Seat the head as specified without crushing fibers or creating a deep water-holding recess. |
| End / edge locations | Follow the connection design and manufacturer guidance; a neat line is not proof of adequate edge distance. |
| Driving | Use controlled torque; avoid stripped holes, snapped screws and overdriven heads. |
| Fresh ends | Apply the specified compatible end treatment where required by the supplied instructions. |
| Plugs / concealed systems | Confirm fence use, board profile, movement and future removal access. |
Dense wood can require more deliberate drilling and tool control than familiar softwood fencing. A test fixing in an offcut helps establish the process, but does not replace a connection specification. Keep the head style, screw diameter, length and substrate engagement visible in the hardware schedule. A decking screw or clip is not automatically suitable for fence wind loads or a moving gate simply because it fits the board.
Use fasteners and connectors selected together for the wood, exposure and support material. Stainless steel is commonly considered for exterior hardwood faces, but the appropriate alloy and complete metal combination depend on conditions. Salt exposure, treated rails and contact with aluminum or coated steel require particular compatibility review. Keep drilling swarf off the wood and protect cut metal finishes as specified. Concealment should not create an inaccessible corrosion or repair problem.
Detail water, movement and metal interfaces
Preserve the drainage and drying paths shown in the assembly detail. Tracks and channels can hold board ends neatly, but can also trap water and debris if they are not designed and installed appropriately. Protect exposed top surfaces as detailed, and avoid creating a cap that drains onto a vulnerable joint. Keep the base clear of soil and accumulated organic matter. Do not use the fence boards to contain a raised planting bed.
Allow the movement required by the actual supplied product and attachment system. Wood changes differently along and across the grain, and metal also responds to temperature. A continuous rigid restraint can introduce problems that do not appear in an unconstrained sample. Do not fill a deliberate movement space with adhesive or add unreviewed screws to force bowed boards into a track. Resolve the cause and approve the corrective detail.
Provide maintenance access where the fence meets walls, masonry piers and landscaping. A concealed fastener strategy needs a documented removal sequence. If replacing one damaged board requires removing several caps or neighboring boards, identify that at handover. A clean appearance and serviceable construction can coexist when the access path is part of the original design.
Give gates their own installation and acceptance process
Confirm the complete leaf weight, dimensions, frame construction and cladding arrangement before selecting hardware. Account for the frame and hardware as well as the wood. Hinge capacity depends on the manufacturer’s configuration and conditions, not just a single advertised weight number. Supports and foundations must carry the gate assembly and its operation. A center fence post used elsewhere in the run may not suit a hinge location.
Operate the gate through its entire swing after cladding is fitted. Check the lowest clearance over changing paving, latch engagement, stops and hold-open devices. For double leaves, test the normal operating sequence and the fixed-leaf hardware. Where pool-barrier or access requirements apply, verify the exact configuration with the responsible authority and specialist. A horizontally slatted garden gate should not be assumed suitable for a pool enclosure.
Installation acceptance and owner handover
- Compare completed runs with the approved layout and first bay.
- Inspect visible splits, damaged surfaces, stripped fixings and unsupported joints.
- Confirm drainage paths and separation from soil, irrigation and planting.
- Verify connection completion and inspections assigned to the responsible professional.
- Test every gate, latch, stop and adjustment through the full travel.
- Confirm finish preparation, coverage and drying according to the product instructions.
- Remove metal debris and construction contamination using an appropriate method.
- Photograph concealed details and label spares by species, size and finish.
- Provide the final material/hardware schedule, care instructions and repair access sequence.
Check the fence again after the first significant seasonal change and after unusual wind or impact. Look for loose connections, changed gaps, trapped debris and gate misalignment. Correct moisture sources and support problems before repeatedly replacing cosmetic pieces. A surface check and a structural split need different responses; document the location and progression and obtain an assessment when the significance is uncertain.
Evidence & scope
Primary technical reference for wood moisture, dimensional behavior, fastening and material properties. It does not prescribe this site’s fence layouts or certify any product.
Pool-barrier context, including climbability and gate considerations. Confirm the current local requirements and exact proposed assembly.
Original planning guidance. References support their stated technical scope; examples and workflows do not establish product approval.